UpscaleAI Creative ClubLaunch priceending soonNew guide: Personal branding, built with Claude75K+ on InstagramEvery prompt free to copyNew guide: Personal branding, built with ClaudeJoin Upscale

Claude is a video editor now.

Edit a talking-head reel with Claude. Raw clip in, finished reel out: captions, cut-out, motion graphics and sound, one pass at a time.

ZeePosted byZee @zeeuiuxVideo & reels
Slide 02 of 11
Before you start

Five things first.

  1. 01.Use Claude Opus 5.5 and keep the whole edit in one chat. Every pass builds on the last.
  2. 02.Turn on Code execution and file creation in Settings → Capabilities. That's what lets Claude cut video and render files.
  3. 03.Export your raw clip at 1080p and keep it under 30 MB. Trim the dead air at the start and end.
  4. 04.Shoot with a little headroom above your head. That's where text goes in pass 02.
  5. 05.Paste your style rules (bottom of this page) right after the setup prompt, or Claude will guess your look.
Slide 10 of 11
01.Step 1 of 7 · Setup

Paste this before anything else.

It turns Claude into your editor: the passes, the order, the export settings. Send it together with your clip.

PromptSetup prompt

You're my reel editor. I've uploaded a raw talking-head clip. We'll edit it in 5 passes, one at a time. After each pass, render a preview and wait for my notes.

01.Transcribe: word-level timestamps → words.json

02.Cut-out: separate me from the background, soft edges, light wrap, no outline

03.Captions: 1–3 words, key word big, rest small

04.Motion: one scene per idea, fired on its word

05.Sound: hits, taps, chime, voice on top

Export: 1080×1920, 30 fps, H.264, −14 LUFS

How to work

  • Do it all in code: Python and ffmpeg for video and audio, HTML/CSS/JS for graphics, rendered frame by frame in a headless browser, so every graphic is timed to the frame.
  • Keep a project folder with words.json, the cut-out matte, each layer and every render, so a change to one pass doesn't break the others.
  • Keep text and graphics inside Instagram's safe area: nothing important in the top 220px, bottom 380px or right 140px.
  • Follow my style rules below. If they don't cover something, pick the cleanest option and tell me what you chose.

Start with pass 01. Don't move on until I say "next".

My style rules

paste your Reel Style Rules here

Slide 03 of 11
02.Step 2 of 7 · Pass 01

First, Claude listens.

Every word gets a timestamp. Captions, graphics and sound all sync to this one file, which is why they land on the beat instead of floating around.

PromptPass 01 · Transcribe

Pass 01: Transcribe.

  • Transcribe my clip word by word, with a start and end time for every word. Save it as words.json.
  • List every pause longer than 0.4s and every stumble or repeated take, with timestamps. Don't cut anything yet.
  • Show me the transcript as a table so I can fix any misheard words.
PromptThen · Tighten the cut

Cut the pauses and stumbles you listed. Keep about 0.1s of breath on each side of every cut. Re-time words.json to the new cut and render a rough preview.

If stuckIf Claude can't download a speech model, ask it to use a Whisper or Parakeet model from the sherpa-onnx releases on GitHub. Both give word-level timings.
Slide 04 of 11
03.Step 3 of 7 · Pass 02

Then it cuts you out of the frame.

Frame by frame, with soft edges and no sticker outline. This is what lets text sit behind your head and backgrounds change around you.

PromptPass 02 · Cut-out

Pass 02: Cut-out.

  • Separate me from the background on every frame and save it as a matte I can reuse in later passes.
  • Soft edges with a light edge blur and light wrap. No white outline, no glow.
  • Fill any holes in my body and hands, and keep the hair detail.
  • Render a check: me over a checkerboard, then me over a dark backdrop with one big word behind my head.
If stuckRough or flickery edges? Ask for a video matting model such as RobustVideoMatting (ONNX), run at 2× size, then fill the holes inside the body.
Slide 05 of 11
04.Step 4 of 7 · Pass 03

Captions that follow your voice.

Each word appears the moment it's said. One key word goes big. The rest stay small.

PromptPass 03 · Captions

Pass 03: Captions.

  • Use words.json. Show 1–3 words at a time, each one appearing the moment it's said.
  • Pick one key word per sentence and set it big in my key-word style. Everything else stays small.
  • Hold each caption at least 0.4s and never put one over my face.
  • List the key words you picked before you render so I can swap them.
Slide 06 of 11
05.Step 5 of 7 · Pass 04

Every graphic lands on a word.

Claude reads the transcript, plans one scene per idea, then builds each one in code, timed to the frame. Approve the plan before it builds anything.

PromptPass 04 · Motion

Pass 04: Motion.

  • Read words.json and plan one scene per idea: the trigger word, its time, what appears on screen and why.
  • Show me the plan as a table and wait for my OK.
  • Build each scene in HTML/CSS, fire it on its word, and composite it with the cut-out so graphics can sit behind me or in front of me.
  • One idea on screen at a time. Fast in, hold, clean out.
Example plan Claude shows you
SaysAtScene
“overanalysis”00:04.40Notification stack from “your brain”
“walking, cleaning, showering”00:10.00Three app tiles, tapped one by one
“Harvard Medical School”00:16.24Source card that types in the year
Slide 07 of 11
06.Step 6 of 7 · Pass 05

Then it designs the sound.

A hit on the hook, a tap on every click, a chime to close. Then a mix that's loud and clean on a phone.

PromptPass 05 · Sound

Pass 05: Sound.

  • Add SFX on the cues from pass 04: a hit on the hook, a tap on every click, a whoosh on every scene change, a chime to close.
  • Keep my voice on top. If you add music, duck it under my voice.
  • Clean my voice (cut rumble and hiss), then master to −14 LUFS with peaks under −1 dB.
  • Render the final 1080×1920, 30 fps, H.264 MP4 plus a cover frame.
Your own soundWant your own sound? Upload your SFX files (WAV) and ask Claude to use them instead of generating new ones.
Slide 08 of 11
07.Step 7 of 7 · Direct and export

You don't edit. You direct.

Watch the preview, then send notes the way you'd brief an editor. Tap a note to copy it.

Slide 09 of 11
Before you post

Check it on a phone.

  • Watch it twice on your phone: sound on, then sound off. Both should make sense.
  • Make sure nothing important sits under Instagram's buttons or caption.
  • Pick a frame with one big word on screen as your cover.
  • Keep it at −14 LUFS so it isn't quieter than the reel before it.
Style rules

My reel style rules.

Paste these at the end of the setup prompt. Change the fonts and colors to your brand. Claude follows them on every pass.

RulesReel-Style-Rules.md

Reel Style Rules

Canvas
  • 1080×1920, 30 fps.
  • Safe area: keep text out of the top 220px, the bottom 380px and the right 140px.
Type
  • Key words: a serif italic (e.g. Instrument Serif Italic), big, one per sentence.
  • Support words: a clean sans (e.g. Google Sans or Inter), semibold, small.
  • Labels and UI text: a mono (e.g. Google Sans Code), uppercase, wide tracking.
  • Max 3 words on screen. Never over my face.
Color
  • Background: near-black #09090A with a soft warm glow.
  • Accent gradient: #FFDCCB → #F6BDD8 → #C9B9FF.
  • Text: #F5F5F4. Muted text: #A3A3AB.
Motion
  • Fast in (0.2–0.35s), hold, clean out. Ease-out on entrances.
  • One idea per scene. Each scene fires on its trigger word.
  • Use text behind me (cut-out) for hooks and big words.
  • Subtle push-ins (max 6%) on emphasis. No shaky zooms.
Sound
  • Hit on the hook, tap on clicks, whoosh on scene changes, chime to close.
  • Voice always on top. Master to −14 LUFS, peaks under −1 dB.
Don't
  • No white sticker outline around me.
  • No emoji captions, no rainbow colors, max 2 fonts on screen.
Downloads

Take it with you.

The files for this guide. Free.

PDFThe 5-Pass Reel Edit KitPDF · 11 pages · 444 KBDownload
MDReel-Style-Rules.mdMarkdown · paste into ClaudeDownload

More free guides

Newest first
LinkedIn

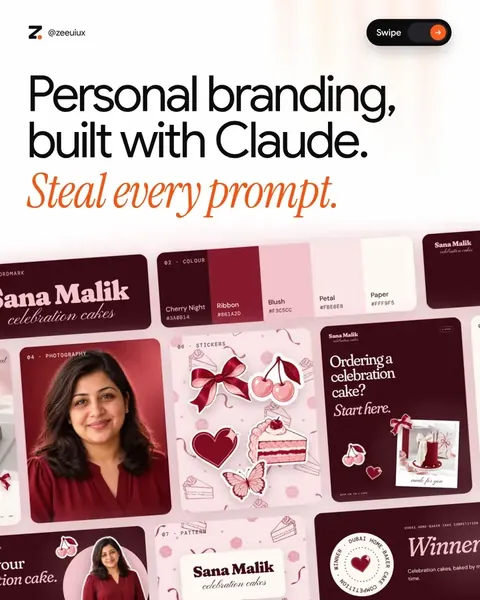
Personal branding, built with Claude.

Headshots, banner, Featured and carousels. 26 prompts.Open the guide
1/19
Design · Claude skill

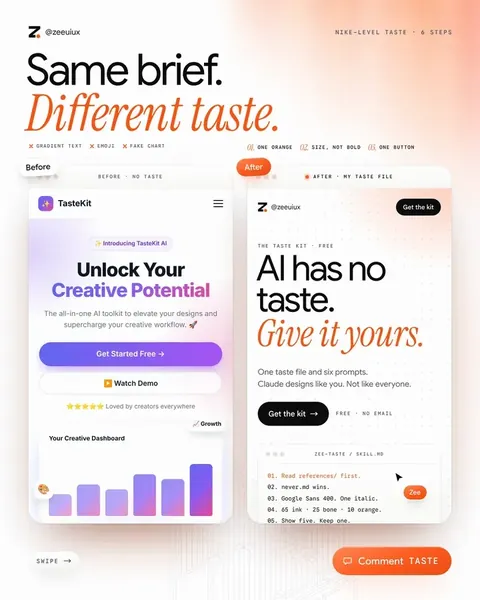
Give Claude your taste.

Six steps, six prompts to copy and one file to fill in.Open the guide
1/10
Video & reels

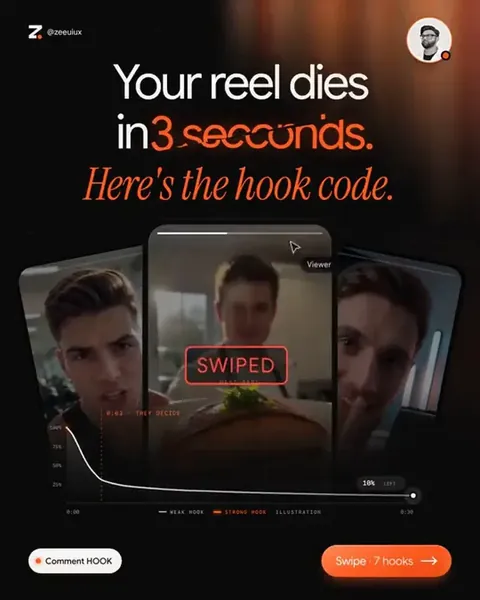
The Hook Code.

50 fill-in-the-blank reel hooks for any niche.Open the guide
1/10

UpscaleJoin Upscale
Launch price ending soon · Join now75K+ on InstagramEvery prompt free to copyLaunch price ending soon · Join now

Claude is a video editor now.

Edit a talking-head reel with Claude. Raw clip in, finished reel out: captions, cut-out, motion graphics and sound, one pass at a time.

ZeePosted byZee @zeeuiuxVideo & reels
Before you start

Five things first.

  1. 01.Use Claude Opus 5.5 and keep the whole edit in one chat. Every pass builds on the last.
  2. 02.Turn on Code execution and file creation in Settings → Capabilities. That's what lets Claude cut video and render files.
  3. 03.Export your raw clip at 1080p and keep it under 30 MB. Trim the dead air at the start and end.
  4. 04.Shoot with a little headroom above your head. That's where text goes in pass 02.
  5. 05.Paste your style rules (bottom of this page) right after the setup prompt, or Claude will guess your look.
10/11
01.Step 1 of 7 · Setup

Paste this before anything else.

It turns Claude into your editor: the passes, the order, the export settings. Send it together with your clip.

PromptSetup prompt

You're my reel editor. I've uploaded a raw talking-head clip. We'll edit it in 5 passes, one at a time. After each pass, render a preview and wait for my notes.

01.Transcribe: word-level timestamps → words.json

02.Cut-out: separate me from the background, soft edges, light wrap, no outline

03.Captions: 1–3 words, key word big, rest small

04.Motion: one scene per idea, fired on its word

05.Sound: hits, taps, chime, voice on top

Export: 1080×1920, 30 fps, H.264, −14 LUFS

How to work

  • Do it all in code: Python and ffmpeg for video and audio, HTML/CSS/JS for graphics, rendered frame by frame in a headless browser, so every graphic is timed to the frame.
  • Keep a project folder with words.json, the cut-out matte, each layer and every render, so a change to one pass doesn't break the others.
  • Keep text and graphics inside Instagram's safe area: nothing important in the top 220px, bottom 380px or right 140px.
  • Follow my style rules below. If they don't cover something, pick the cleanest option and tell me what you chose.

Start with pass 01. Don't move on until I say "next".

My style rules

paste your Reel Style Rules here

03/11
02.Step 2 of 7 · Pass 01

First, Claude listens.

Every word gets a timestamp. Captions, graphics and sound all sync to this one file, which is why they land on the beat instead of floating around.

PromptPass 01 · Transcribe

Pass 01: Transcribe.

  • Transcribe my clip word by word, with a start and end time for every word. Save it as words.json.
  • List every pause longer than 0.4s and every stumble or repeated take, with timestamps. Don't cut anything yet.
  • Show me the transcript as a table so I can fix any misheard words.
PromptThen · Tighten the cut

Cut the pauses and stumbles you listed. Keep about 0.1s of breath on each side of every cut. Re-time words.json to the new cut and render a rough preview.

If stuckIf Claude can't download a speech model, ask it to use a Whisper or Parakeet model from the sherpa-onnx releases on GitHub. Both give word-level timings.
04/11
03.Step 3 of 7 · Pass 02

Then it cuts you out of the frame.

Frame by frame, with soft edges and no sticker outline. This is what lets text sit behind your head and backgrounds change around you.

PromptPass 02 · Cut-out

Pass 02: Cut-out.

  • Separate me from the background on every frame and save it as a matte I can reuse in later passes.
  • Soft edges with a light edge blur and light wrap. No white outline, no glow.
  • Fill any holes in my body and hands, and keep the hair detail.
  • Render a check: me over a checkerboard, then me over a dark backdrop with one big word behind my head.
If stuckRough or flickery edges? Ask for a video matting model such as RobustVideoMatting (ONNX), run at 2× size, then fill the holes inside the body.
05/11
04.Step 4 of 7 · Pass 03

Captions that follow your voice.

Each word appears the moment it's said. One key word goes big. The rest stay small.

PromptPass 03 · Captions

Pass 03: Captions.

  • Use words.json. Show 1–3 words at a time, each one appearing the moment it's said.
  • Pick one key word per sentence and set it big in my key-word style. Everything else stays small.
  • Hold each caption at least 0.4s and never put one over my face.
  • List the key words you picked before you render so I can swap them.
06/11
05.Step 5 of 7 · Pass 04

Every graphic lands on a word.

Claude reads the transcript, plans one scene per idea, then builds each one in code, timed to the frame. Approve the plan before it builds anything.

PromptPass 04 · Motion

Pass 04: Motion.

  • Read words.json and plan one scene per idea: the trigger word, its time, what appears on screen and why.
  • Show me the plan as a table and wait for my OK.
  • Build each scene in HTML/CSS, fire it on its word, and composite it with the cut-out so graphics can sit behind me or in front of me.
  • One idea on screen at a time. Fast in, hold, clean out.
Example plan Claude shows you
SaysAtScene
“overanalysis”00:04.40Notification stack from “your brain”
“walking, cleaning, showering”00:10.00Three app tiles, tapped one by one
“Harvard Medical School”00:16.24Source card that types in the year
07/11
06.Step 6 of 7 · Pass 05

Then it designs the sound.

A hit on the hook, a tap on every click, a chime to close. Then a mix that's loud and clean on a phone.

PromptPass 05 · Sound

Pass 05: Sound.

  • Add SFX on the cues from pass 04: a hit on the hook, a tap on every click, a whoosh on every scene change, a chime to close.
  • Keep my voice on top. If you add music, duck it under my voice.
  • Clean my voice (cut rumble and hiss), then master to −14 LUFS with peaks under −1 dB.
  • Render the final 1080×1920, 30 fps, H.264 MP4 plus a cover frame.
Your own soundWant your own sound? Upload your SFX files (WAV) and ask Claude to use them instead of generating new ones.
08/11
07.Step 7 of 7 · Direct and export

You don't edit. You direct.

Watch the preview, then send notes the way you'd brief an editor. Tap a note to copy it.

09/11
Before you post

Check it on a phone.

  • Watch it twice on your phone: sound on, then sound off. Both should make sense.
  • Make sure nothing important sits under Instagram's buttons or caption.
  • Pick a frame with one big word on screen as your cover.
  • Keep it at −14 LUFS so it isn't quieter than the reel before it.
Style rules

My reel style rules.

Paste these at the end of the setup prompt. Change the fonts and colors to your brand. Claude follows them on every pass.

RulesReel-Style-Rules.md

Reel Style Rules

Canvas
  • 1080×1920, 30 fps.
  • Safe area: keep text out of the top 220px, the bottom 380px and the right 140px.
Type
  • Key words: a serif italic (e.g. Instrument Serif Italic), big, one per sentence.
  • Support words: a clean sans (e.g. Google Sans or Inter), semibold, small.
  • Labels and UI text: a mono (e.g. Google Sans Code), uppercase, wide tracking.
  • Max 3 words on screen. Never over my face.
Color
  • Background: near-black #09090A with a soft warm glow.
  • Accent gradient: #FFDCCB → #F6BDD8 → #C9B9FF.
  • Text: #F5F5F4. Muted text: #A3A3AB.
Motion
  • Fast in (0.2–0.35s), hold, clean out. Ease-out on entrances.
  • One idea per scene. Each scene fires on its trigger word.
  • Use text behind me (cut-out) for hooks and big words.
  • Subtle push-ins (max 6%) on emphasis. No shaky zooms.
Sound
  • Hit on the hook, tap on clicks, whoosh on scene changes, chime to close.
  • Voice always on top. Master to −14 LUFS, peaks under −1 dB.
Don't
  • No white sticker outline around me.
  • No emoji captions, no rainbow colors, max 2 fonts on screen.
Downloads

Take it with you.

The files for this guide. Free.

PDFThe 5-Pass Reel Edit KitPDF · 11 pages · 444 KBDownload
MDReel-Style-Rules.mdMarkdown · paste into ClaudeDownload
Zee
UpscaleAI Creative Club
on Skool

Learn AI with us, every day.

  • Daily video tutorials
  • New AI tools tested every week
  • A room of creatives sharing wins, work and new finds
Join Upscale

More free guides

1/19LinkedIn

Personal branding, built with Claude.

Headshots, banner, Featured and carousels. 26 prompts.
1/10Design · Claude skill

Give Claude your taste.

Six steps, six prompts to copy and one file to fill in.
1/10Video & reels

The Hook Code.

50 fill-in-the-blank reel hooks for any niche.